Happy New Year! I am so excited to share with you all my 2020 Planner Setup! Also check out the video walk through linked below. Enjoy!

I have used an A5 ring system for many years and have loved it. I have used Filofax binders for many years but have recently started using this leather binder simply because it is slimmer.
You can find this binder on Amazon for a fairly affordable price – mine definitely shows a bit of wear, but I still think it looks beautiful! It doesn’t have any pockets so I stuck a large Erin Condren Pocket on the inside cover so I can keep loose pages in there.
A5 Leather Binder – https://amzn.to/359Oyrj
Erin Condren Large Pocket – https://amzn.to/2FaqMkj

I laminate the year at a glance that comes with my Filofax inserts and use that as the cover/dashboard of my binder. I then use a Filofax flyleaf to keep a selection of different Post-its at my fingertips. I absolutely LOVE Post-its so I need to have some at hand at all times! I also use Post-it Tabs to mark my monthly calendars.
Filofax Flyleaf – https://amzn.to/2rP0Vvi

I have been using Filofax A5 daily inserts for the last 6-7 years and although I’ve tried other planners, inserts, sizes, etc I just keep coming back to them! I use the left column for appointments and my daily schedule of events and I use the right side to keep a running list of to dos! The weekends are two per page which does limit what you can write on there, but if I ever need more space I just insert a blank page in the binder.
Filofax Daily Inserts – https://amzn.to/2ZEScIx
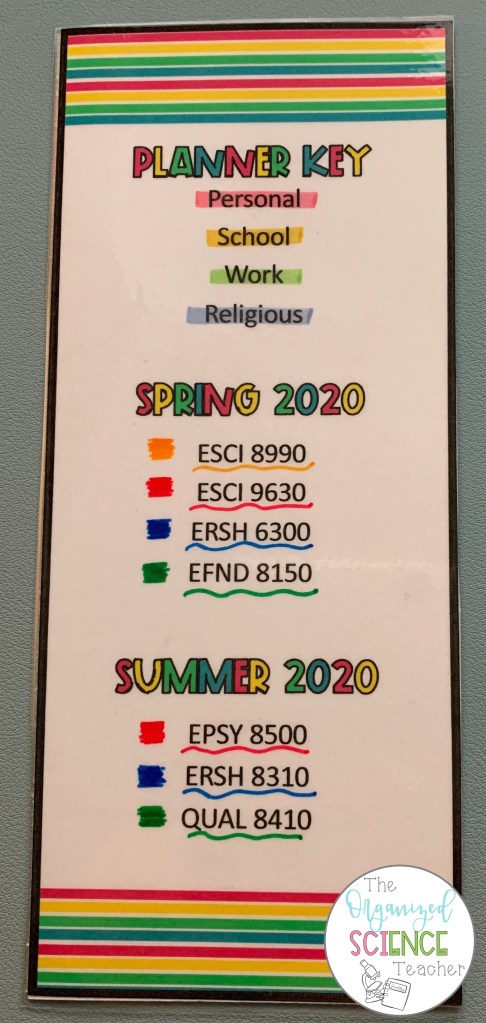
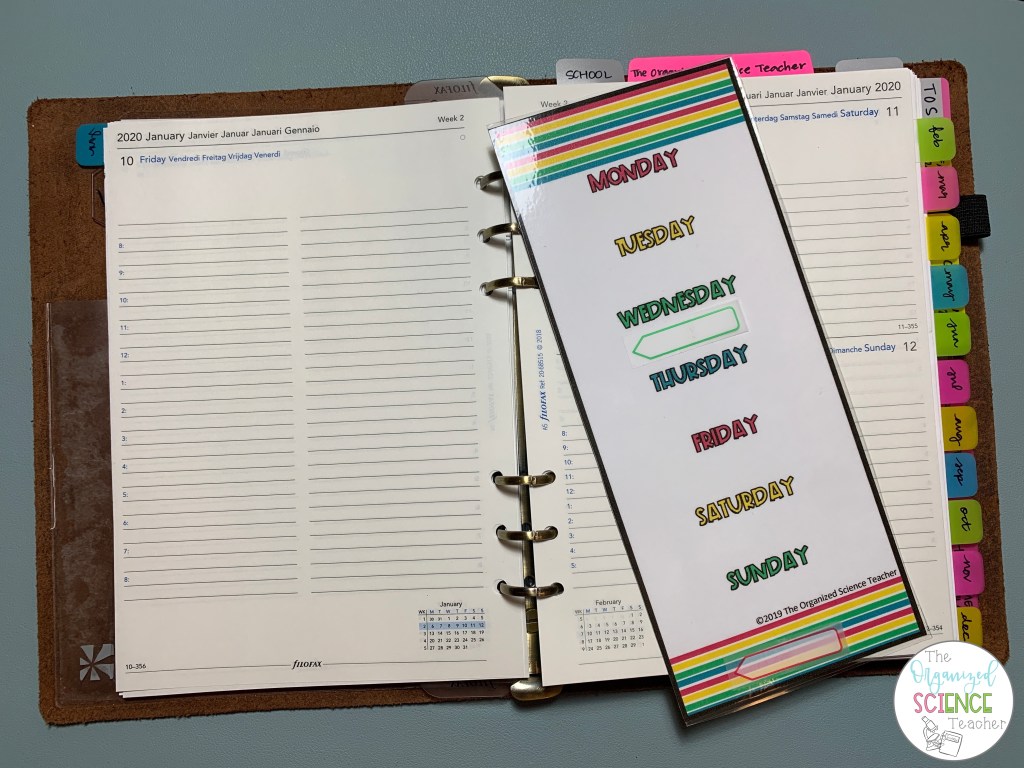
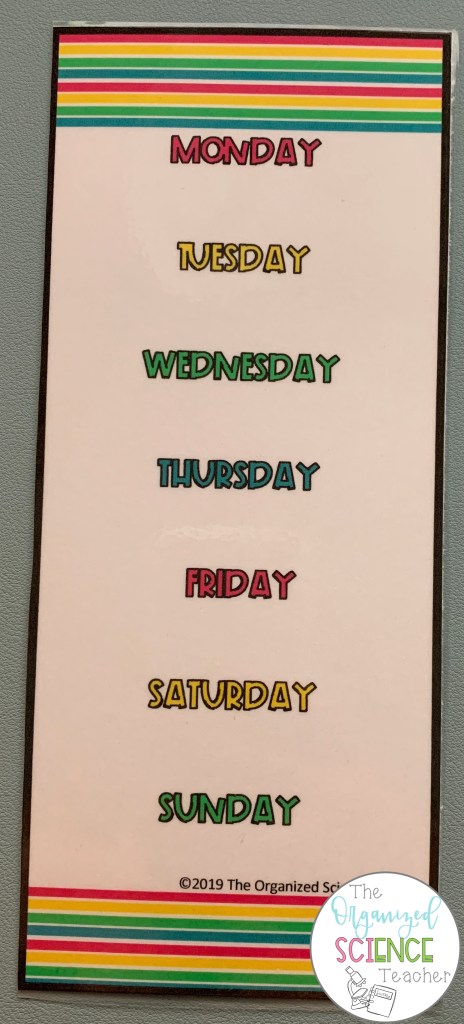
I have made a planner bookmark that I like to use to hold my place in the planner. On the front, I have my planner key with a reminder of the color coding system I use. I like to use highlighters to color code events in my planner. I am also currently a PhD student so I also have a seperate color coded key for my classes. So I will highlight my classes/events/due dates in the yellow highlighter for school and will then underline them with the corresponding class. On the back, I have a weekly overview. I like to use Post-it arrows to make my overview that way I can move things around and then save the arrows on the bottom of the bookmark for next time.
If you’d like a copy of the bookmark for yourself, click on the link below to check out the different options I have for you to download. I like to print on cardstock, cut them out, put them back to back and then laminate so it lasts for a while. You can print and then write in your key or add a text-box to the PDF and add in your key.
Planner Bookmark – https://drive.google.com/file/d/1wzcEy40GC-31Boi3auVwvjhw7boOnvqt/view?usp=sharing
This template is for PERSONAL USE ONLY! This template cannot be used for commercial use.

After my monthly and daily calendars, I have my notes section. The first section is material for my blog. Here I keep up with a list of ideas, action items, and a blog post planner.

I use this blog planner to plan my posts. I did not create this completely on my own; I looked online for different ideas and merged a couple of different one to fit my needs. If you’d like to use it, feel free to download it below.
Blog Planner – https://drive.google.com/open?id=1KEgHEq0Gwdiwc2hyAXoJ2AxdBzEcKauU
This template is for PERSONAL USE ONLY! This template cannot be used for commercial use.

The next few sections are for school where I keep track of my class schedule, the school’s academic calendar, and course overviews for all my classes. I use Post-it flags that match the color coding for my classes to write the course code and professor’s name. If you’d like to use it, feel free to download it below.
Course Overview – https://drive.google.com/file/d/1TX8azZcxXVsgOfL8i4RqHtZMCdB3DUSf/view?usp=sharing
This template is for PERSONAL USE ONLY! This template cannot be used for commercial use.

The next section is for birthdays. Here I have one page per month with all of the birthdays listed by day. This I keep from year to year and update as I gather new birthdays. (The Post-it note is just to cover up names for privacy.)

The next section is to track my expenses. There are multiple templates out there for this – I just made a table on a template that matched my colors :). If you’d like to use it, feel free to download it below.
Expense Tracker – https://drive.google.com/file/d/1RFNXw17kAtqSqJMP-_RSsdlfPzaSGAnB/view?usp=sharing
This template is for PERSONAL USE ONLY! This template cannot be used for commercial use.

The next section is to track health related stuff. I plan on using this to track exercising, weight, doctors, appointments and anything else health related. I added the numbers by hand to a table I created as I wanted there to be enough space to be able to write in my weight or time exercised. If you’d like to use it, feel free to download it below.
Health Tracker – https://drive.google.com/open?id=1x1qFAVx3twIctSbLHFESZNahD0aZsde2
This template is for PERSONAL USE ONLY! This template cannot be used for commercial use.

The last section is my meal planner. There are multiple templates out there for this – I just made a table on a template that matched my colors :). If you’d like to use it, feel free to download it below.
Meal Planner – https://drive.google.com/file/d/1NF3V9gd4kY5VnckELGw1LBwuAgm2rYa2/view?usp=sharing
This template is for PERSONAL USE ONLY! This template cannot be used for commercial use.
I hope you enjoyed the tour – I will share an update later in the year so you can see how I use the planner during the year. Check out the video tour as well!
––––––––––––––––––––––––––––––––––––––––
This post is not sponsored. Some links may be affiliate links. This does not cost you any extra when you make a purchase. I very much appreciate your support if you choose to use my links! All opinions are genuinely my own!
––––––––––––––––––––––––––––––––––––––––
